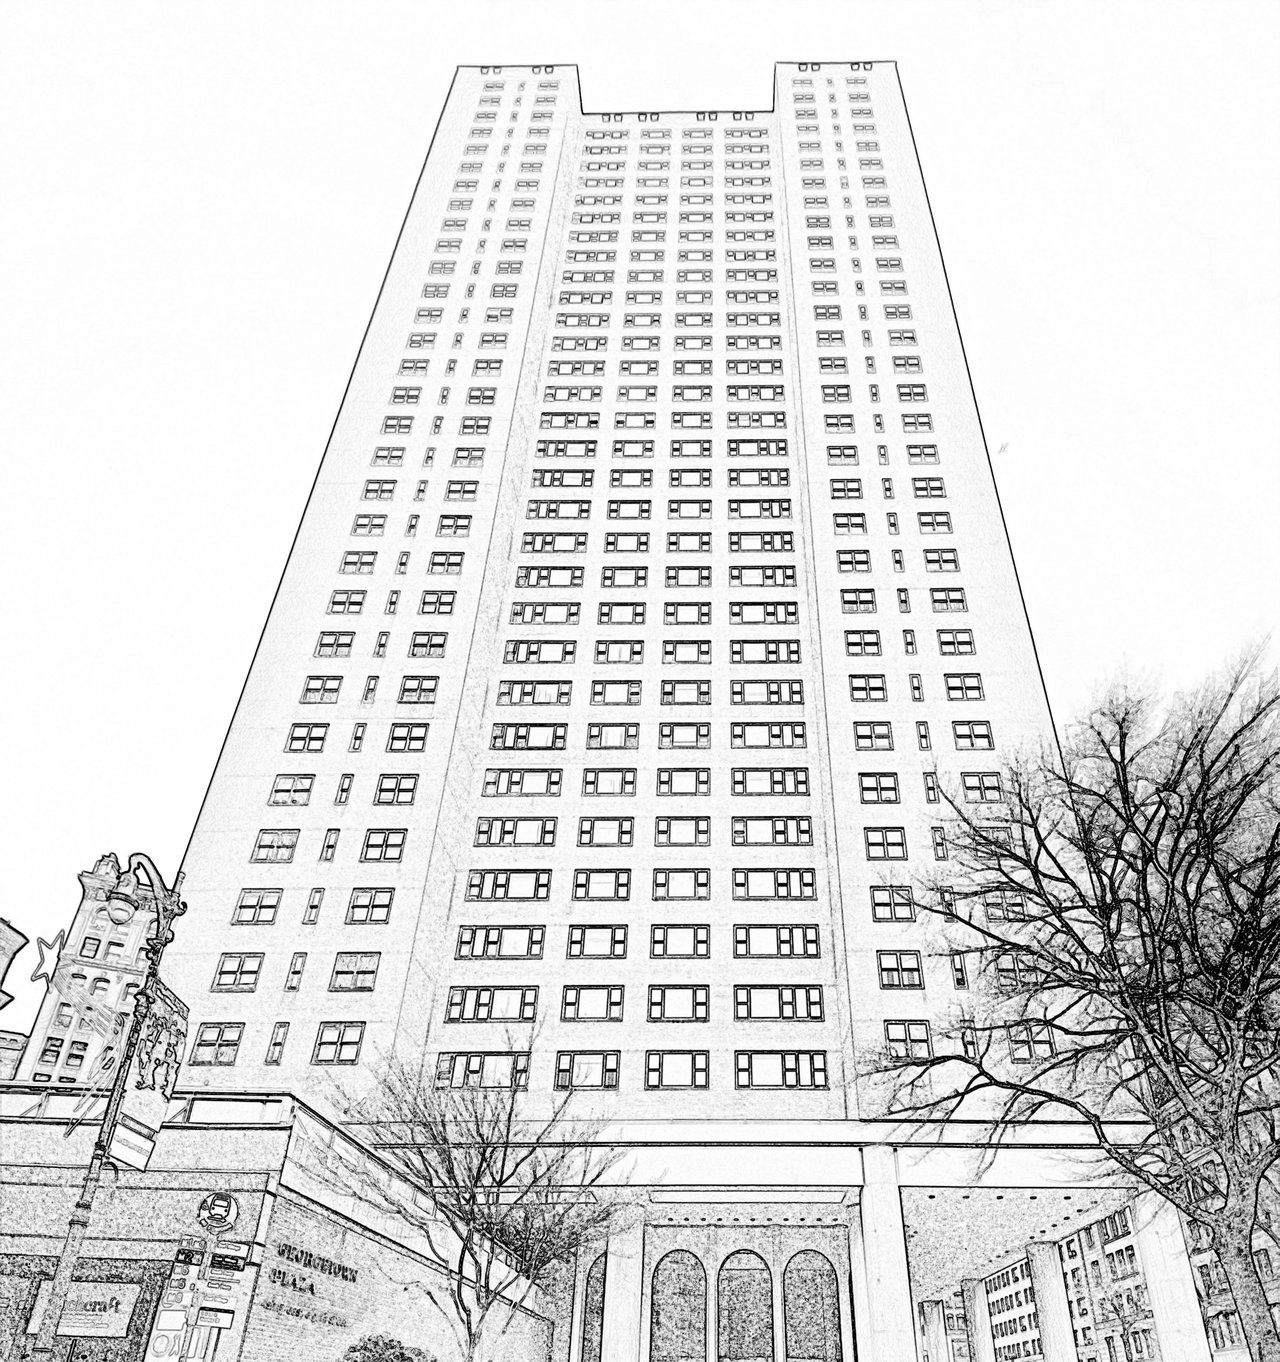
Selling a prewar Upper West Side co‑op can feel like a balancing act. You want buyers to fall for the original character while seeing a clean, modern home that is easy to move into. The good news is you can get there with smart, reversible staging that respects co‑op rules and photographs beautifully. In this guide, you’ll learn what today’s UWS buyers expect, how to prepare within board and city guidelines, and the practical tweaks that deliver the best return. Let’s dive in.
What today’s UWS buyers expect
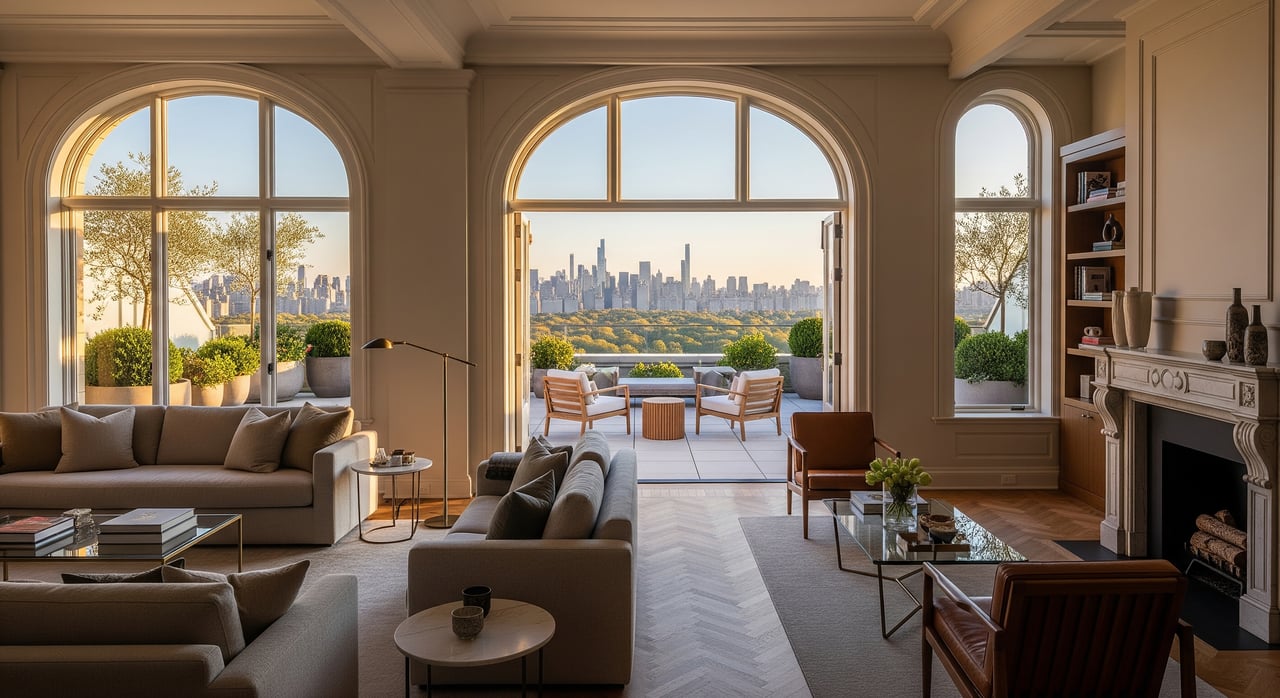
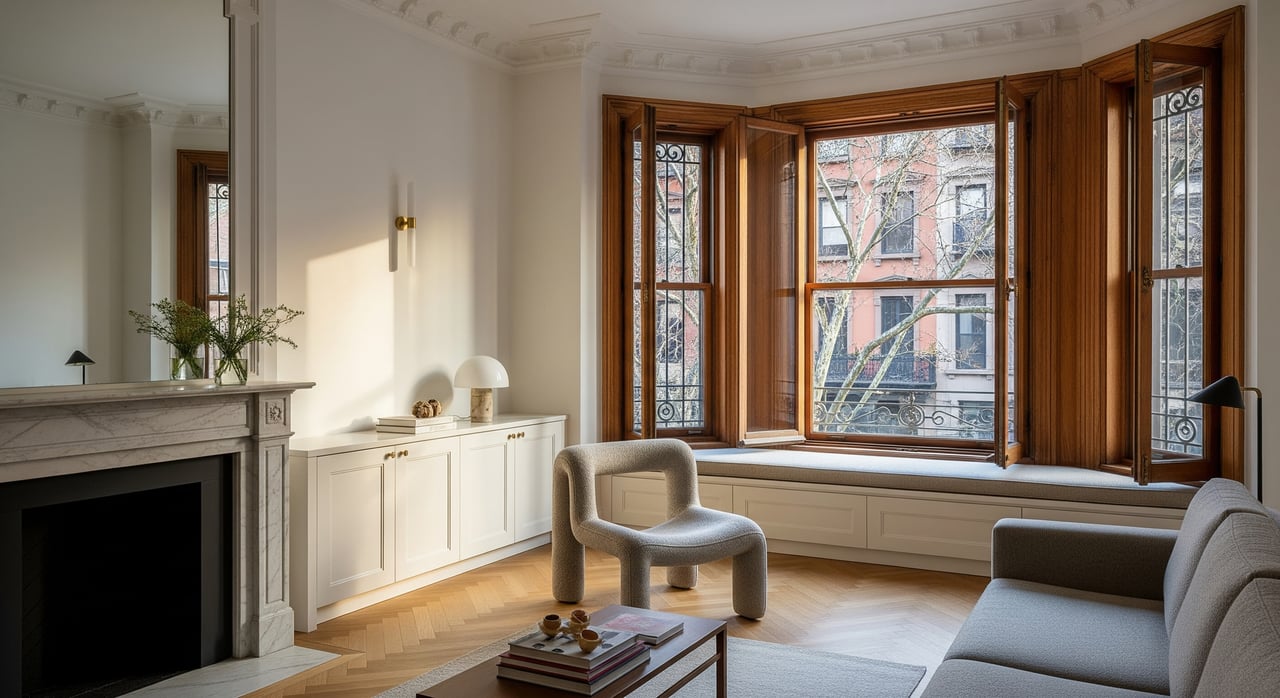
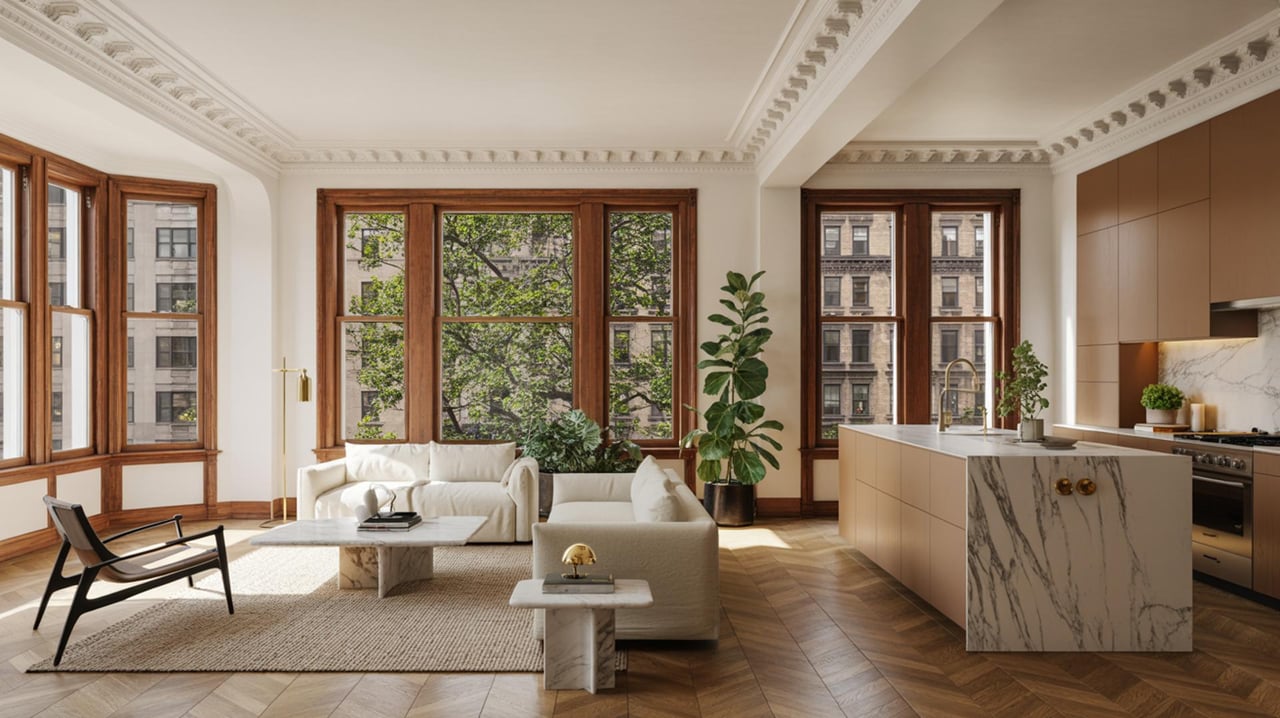
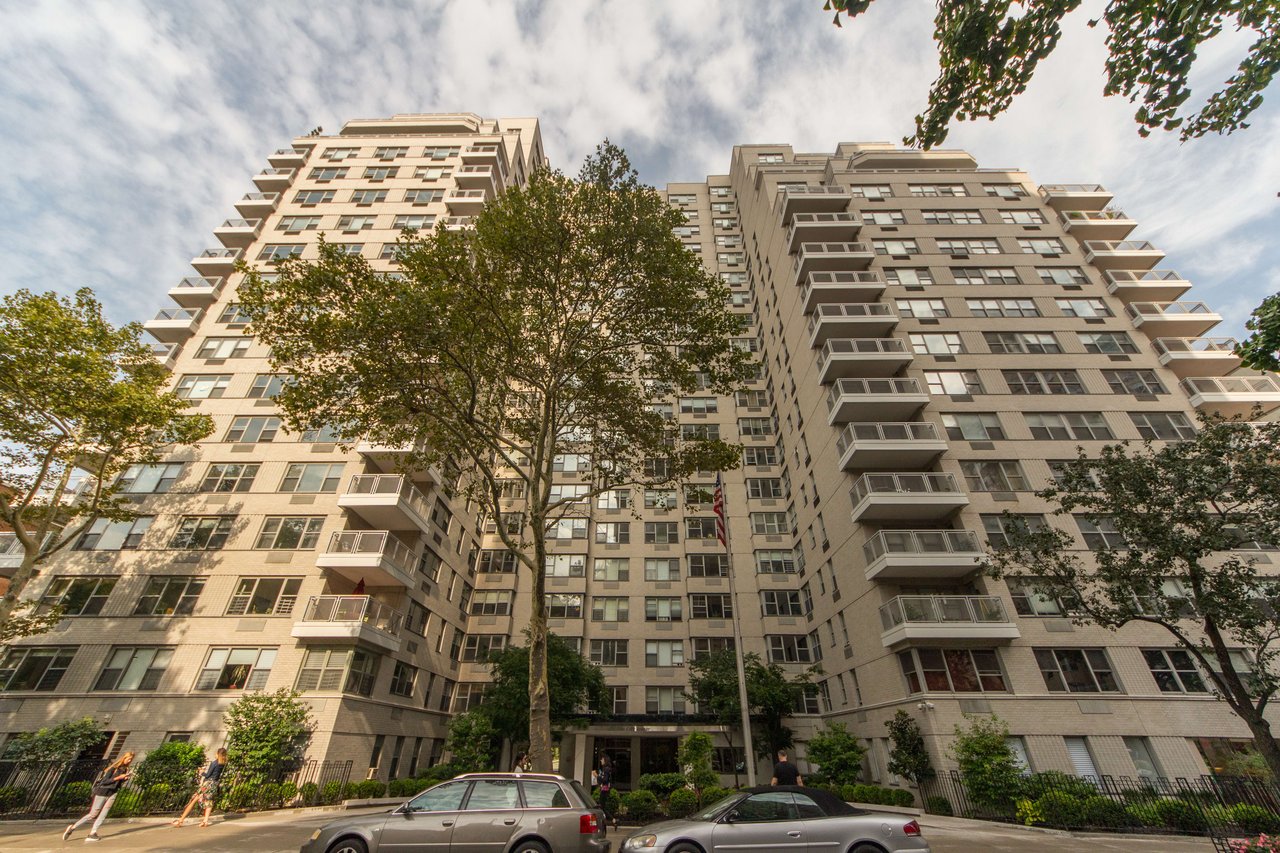
Buyers on the UWS prize authentic prewar details. Moldings, arched openings, built‑ins, ceiling height, and original wood floors are features that help your listing stand out. At the same time, buyers want modern lighting, neutral finishes, and efficient storage.
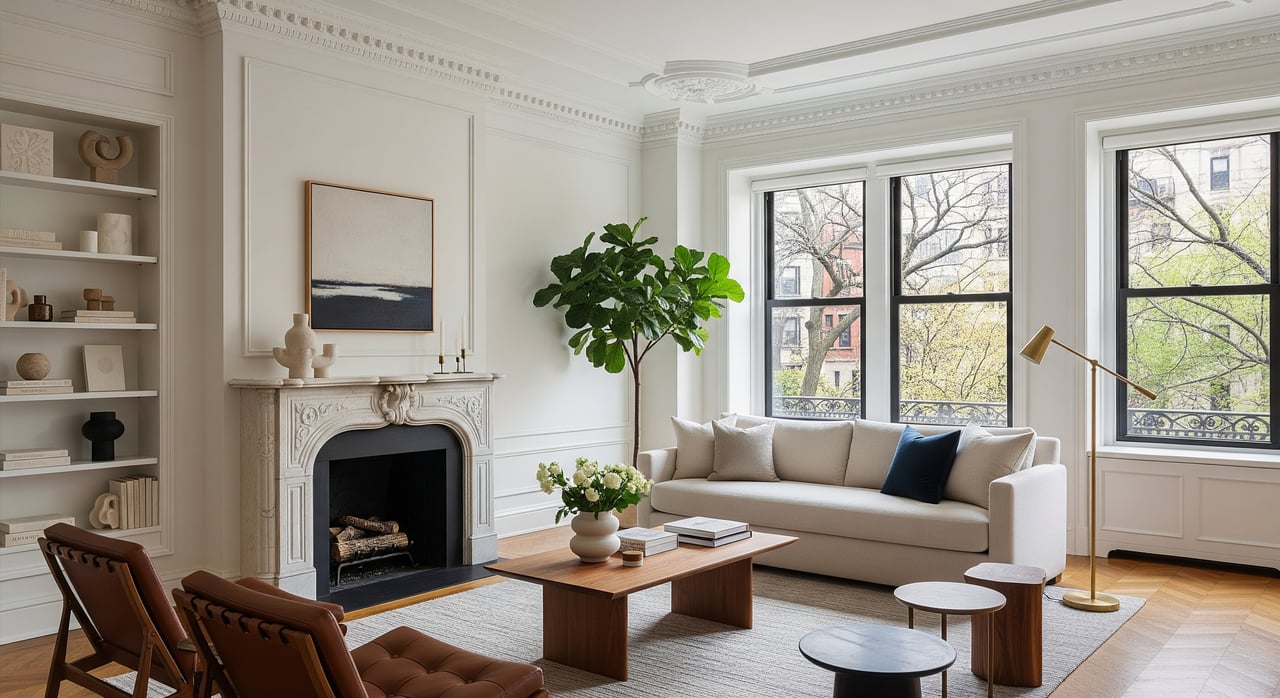
Your goal is to showcase character without making the apartment feel dated. Clean, repair, and light the details you have. Then add a neutral, cohesive backdrop so rooms read larger and brighter online and in person.
Know the rules before you stage
Co‑op boards typically require written approval and formal alteration agreements for anything that touches structure, plumbing, gas, or electrical systems. Cosmetic items like painting, swapping furniture, area rugs, and plug‑in or battery‑powered lighting usually do not need approval, but always confirm with building management first.
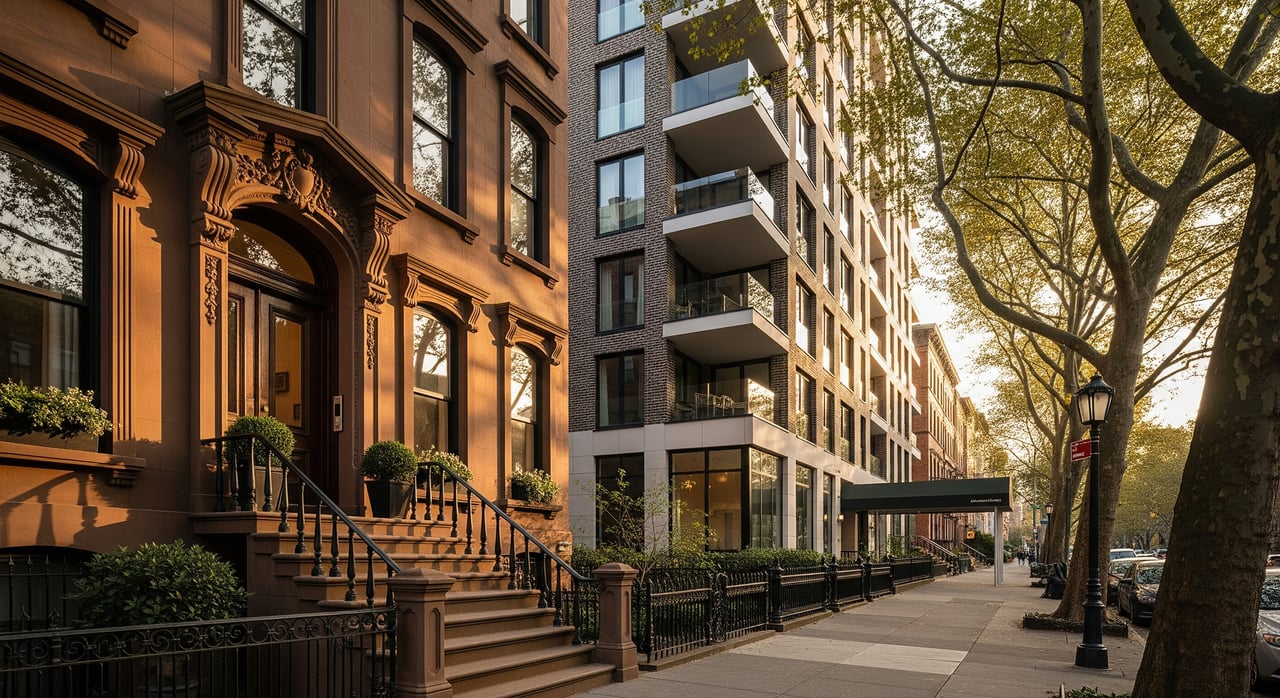
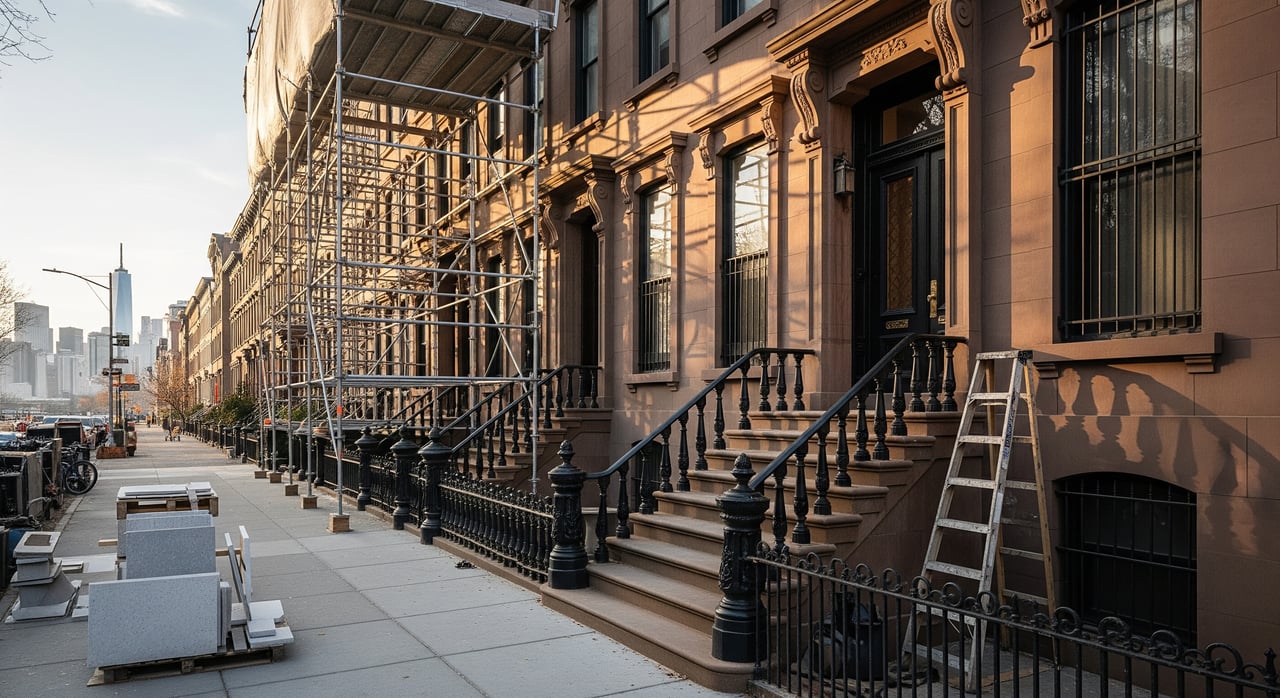
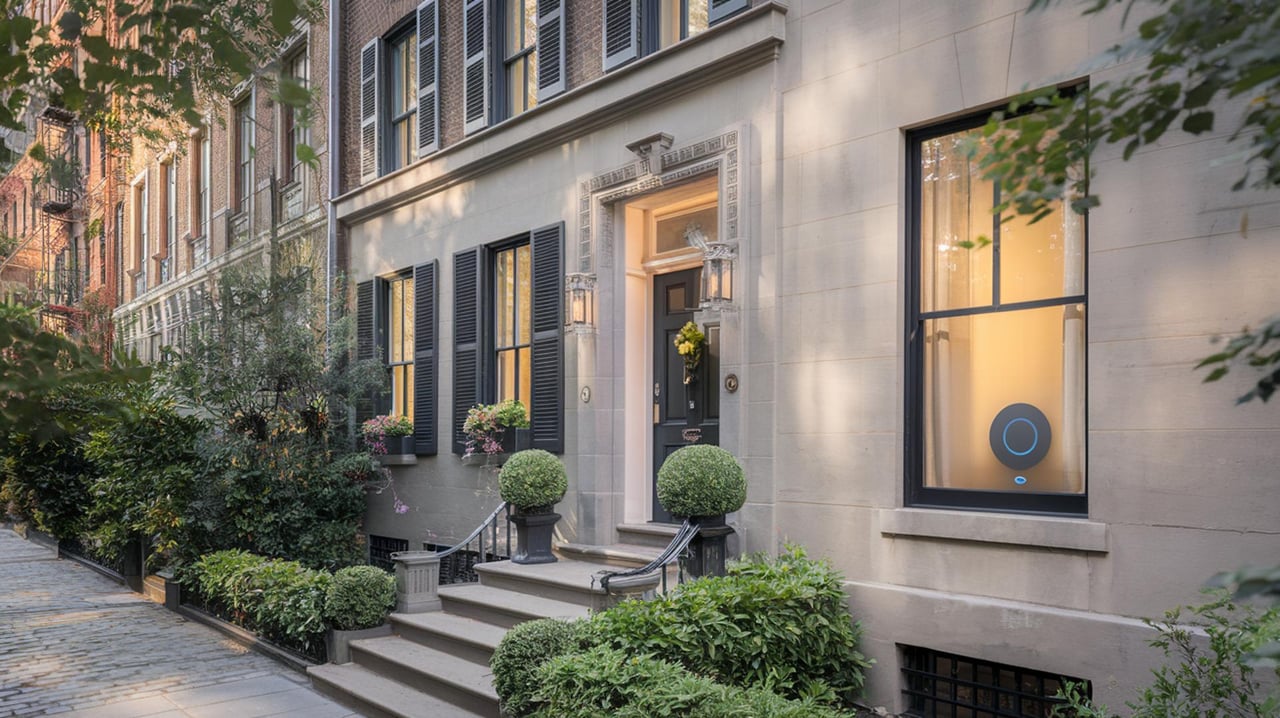
Many UWS buildings sit within landmark districts. The Landmarks Preservation Commission generally regulates exteriors and designated interior landmarks, not ordinary apartment interiors. Do not replace windows or alter anything visible from the street without approval. For any permitted work involving plumbing, gas, or electrical, the NYC Department of Buildings requires licensed contractors and appropriate permits.
Callout for sellers: “Check your proprietary lease and alteration policy; contact building management about staging deliveries and elevator/protection requirements.”
Light and sightlines
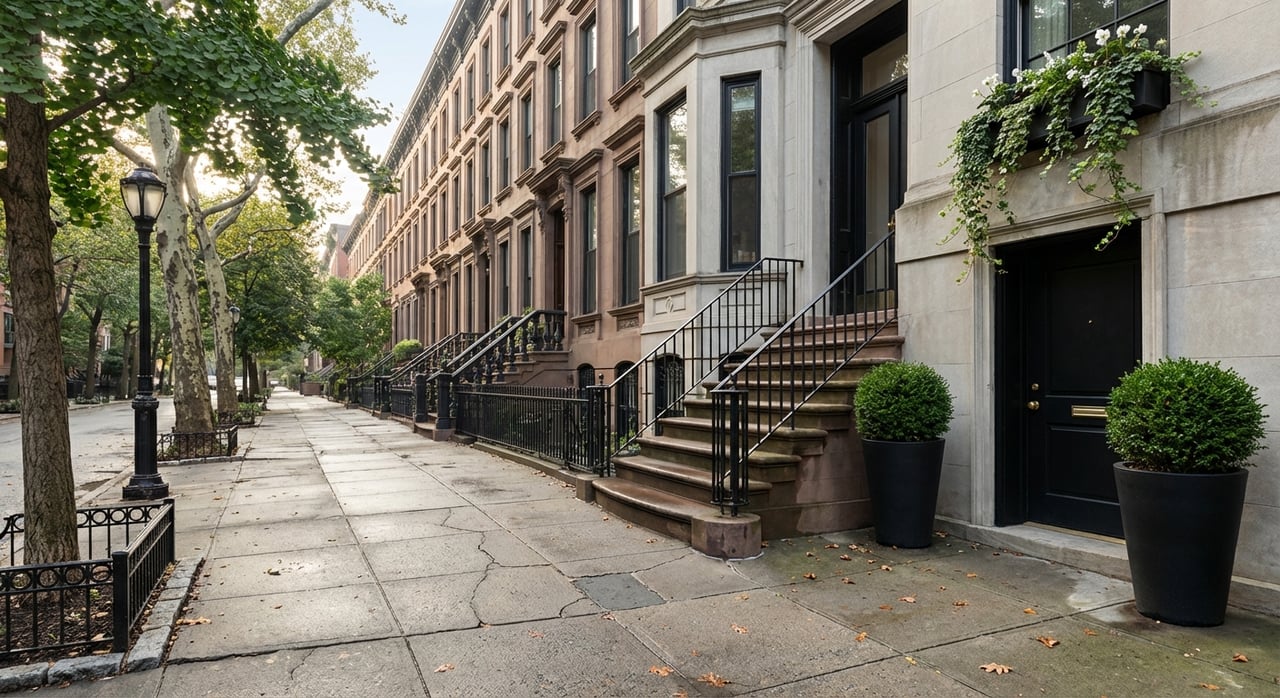
Prewar layouts and tree‑lined streets can limit natural light. Your photos and showings should counter that with layered lighting and clear views across rooms.
- Remove heavy drapes and use sheers to soften light without blocking it.
- Clean interior and exterior window panes so glass disappears on camera.
- Layer ambient, task, and accent lighting. Add floor lamps in dim corners and plug‑in picture lights to highlight built‑ins or art.
- Keep bulb color consistent across rooms. Warm white around 2700–3000K flatters wood tones. Neutral white around 3000–3500K can read crisp and modern. Choose one range and stick with it.
- Where possible, use high‑quality LEDs with a high color rendering index so finishes look true in photos.
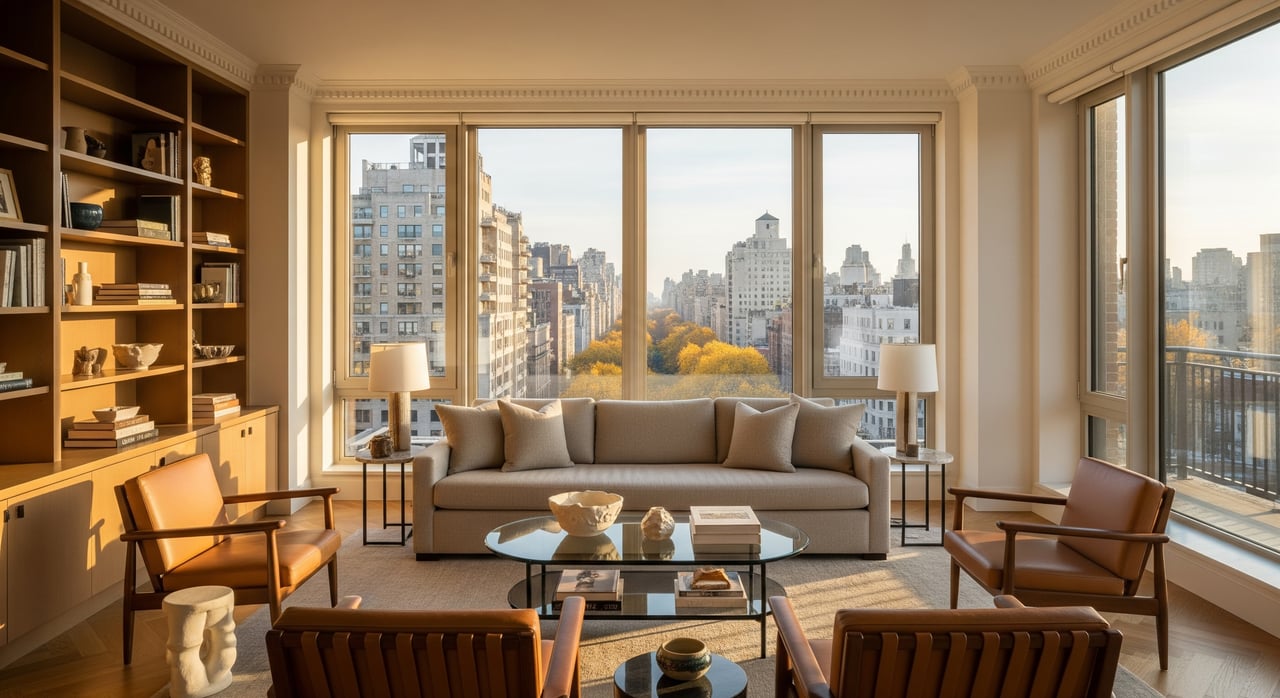
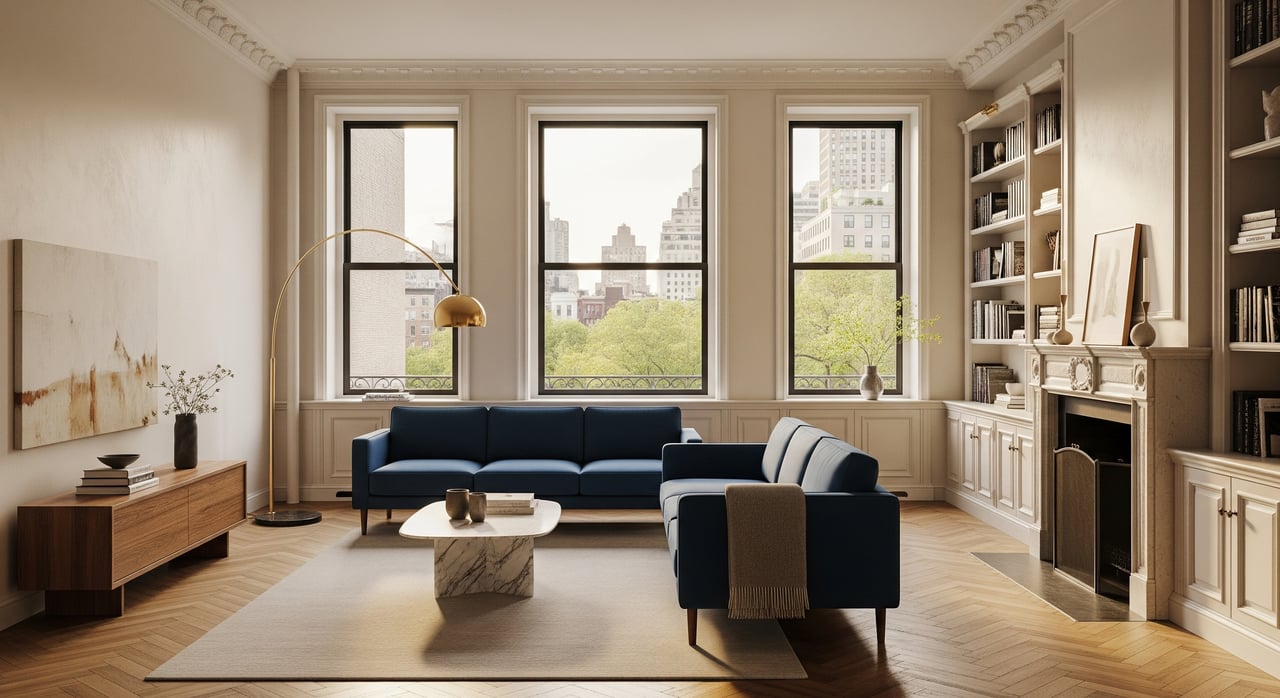
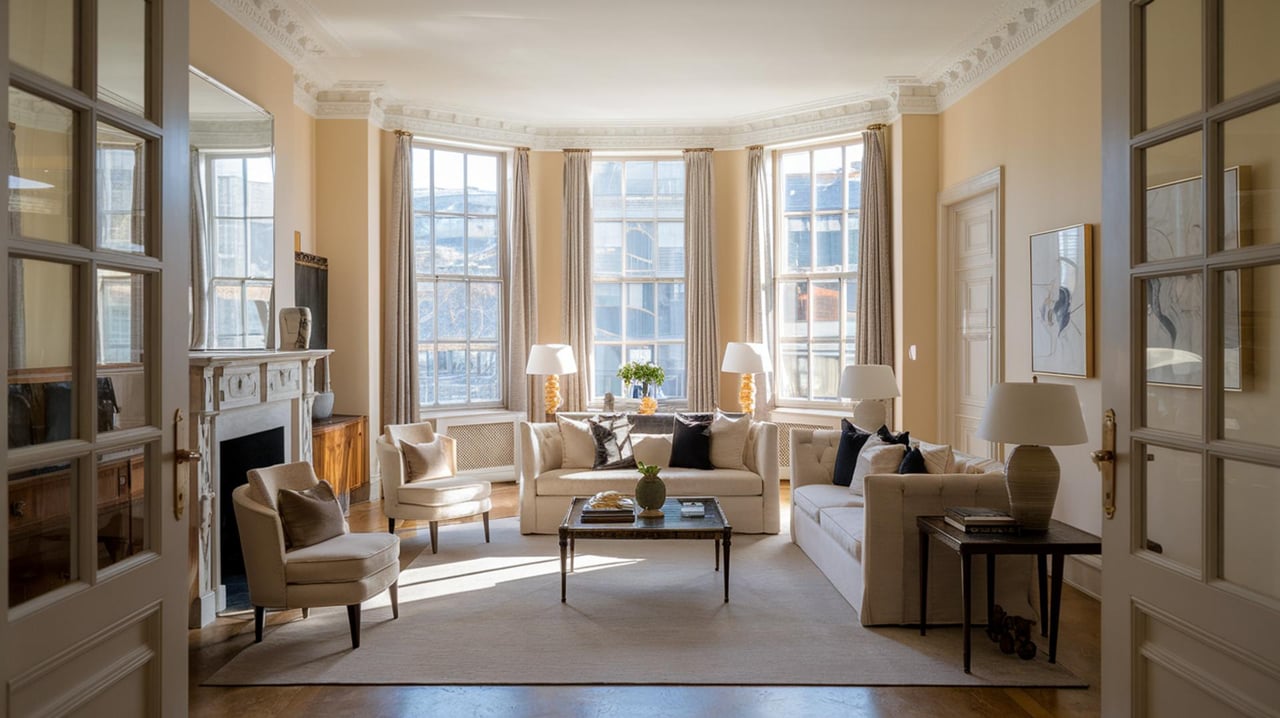
A neutral palette that photographs
A fresh, neutral repaint is one of the most effective ways to modernize a prewar home for buyers.
- Favor soft whites, greiges, or warm neutrals to make rooms feel larger and calmer.
- Use satin or eggshell on walls for a durable, photogenic finish; use a higher sheen on trim to make moldings pop.
- If you want pattern, consider peel‑and‑stick wallpaper on a single accent wall. Test a small patch first to ensure it removes cleanly.
- Avoid high‑chroma or very dark hues in small rooms. These can shrink spaces on camera.
Scale, layout, and flow
Prewar footprints can include long galleries, cozy dining nooks, and variable bedroom sizes. Help buyers understand how the space lives.
- Choose correctly scaled furniture. Avoid oversized sectionals that dominate sightlines.
- Define zones clearly: a living area with a conversational seating group, a dining area with a table and 4–6 chairs, and a simple, restful bedroom layout.
- Maintain comfortable walking paths where feasible. Aim for about 36 inches through main routes and 18–24 inches between a sofa and coffee table.
- Showcase storage. Edit closets to 50–60 percent capacity so buyers see usable space. Style built‑ins with a curated mix of books, art, and a few objects.
Kitchens and baths: refresh, don’t remodel
Full renovations can be costly and may require board approval and permits, which add time. Focus on reversible improvements that read clean and updated.
- Deep clean grout, caulk, and surfaces. Reseal stone where needed for a fresh look.
- Update hardware with timeless knobs and pulls. Keep originals in a labeled bag for the buyer.
- If allowed by building rules, refresh faucets and showerheads. Confirm that any swap does not require a licensed plumber.
- Improve lighting with plug‑in under‑cabinet strips or a sleek plug‑in sconce. Avoid relocating hard‑wired fixtures without approvals.
- If cabinets are sturdy but dated, a professional paint job in a light neutral can lift the room. Confirm with management if any finish change is visible from common corridors.
Floors, rugs, and radiators
Original wood floors are a selling feature. If you cannot refinish before photos, a deep clean and strategic rugs can help.
- Use well‑sized area rugs that leave a visible wood perimeter to showcase the floor.
- Repair or cover small imperfections rather than drawing attention with small scatter rugs.
- Clean radiators thoroughly. If they are scuffed, consider painting them to match walls or trim for a quiet, coordinated look, subject to house rules.
Small‑space tricks that work in photos
- Add a large mirror opposite a window to bounce light deeper into the room.
- Pull furniture a few inches off the wall to create depth on camera.
- Remove extra side tables, ottomans, or small chairs that block sightlines.
- Limit accent colors to two or three to keep the eye moving easily through the space.
Photography, floor plans, and virtual tours
A photographer who knows NYC prewar apartments can capture proportions and details without distortion. Ask for recent UWS or Manhattan prewar examples.
- Request medium‑wide compositions instead of extreme wide angles, which can mislead and make rooms feel odd in person.
- Use bracketed exposures or HDR to balance bright windows and interior details.
- Highlight signature views and sightlines, like entry to living room or living to dining.
- Include an accurate floor plan with measurements. This helps buyers visualize prewar layouts.
- Consider a video walkthrough or 3D tour. Many UWS buyers screen listings remotely before visiting. Declutter thoroughly and light spaces evenly for virtual experiences.
Reversible tweaks that deliver ROI
Low‑cost, high‑impact
- Deep clean windows, woodwork, radiators, and grout.
- Repaint in light neutrals; touch up trim to crisp lines.
- Replace bulbs for consistent color temperature throughout the home.
- Add floor and table lamps; consider plug‑in picture lights to feature details.
- Swap heavy drapery for sheers and simple rods with reversible mounts.
- Update hardware on cabinets and closets; keep and label originals.
- Style shelves and countertops minimally; add a few plants for life and color.
Medium‑impact, still reversible
- Replace switch plates and outlet covers for a clean, uniform look.
- Hang art and mirrors with picture‑hanging systems that limit wall damage.
- Add temporary radiator covers or decorative screens that do not alter building systems.
Avoid without approvals
- Window replacements or any change visible from the street.
- Moving or opening walls, or touching service chases.
- Relocating hard‑wired lighting, changing gas lines, or altering plumbing without permits and licensed trades.
Timeline and budget in a UWS context
Many sellers can get a co‑op photo‑ready within 1 to 3 weeks with focused effort. That window typically covers decluttering, deep cleaning, paint touchups, lighting, and furniture edits. More involved cosmetic projects, like a kitchen refresh or floor refinishing, add time.
Estimated local ranges can help you plan. Professional cleaning and minor repairs often run a few hundred to just over a thousand dollars, depending on scope. One‑day cosmetic painting for touchups or a single room can range into four figures, while a full‑apartment repaint is more. Professional staging and furniture rental for a 1–2 bedroom Manhattan co‑op often starts in the low thousands for installation plus a monthly rental fee. Real‑estate photography typically costs a few hundred dollars, with 3D tours an additional fee. These are estimates only. Get quotes from Upper West Side vendors to match your apartment size and needs.
A room‑by‑room mini‑checklist
Entry and gallery
- Clear shoe racks and hooks. Keep one small tray or bowl for keys.
- Add a slim console and a mirror to create depth and light.
- Use a runner that leaves visible floor at the edges.
Living and dining
- Create a primary seating group that faces a focal point, not traffic.
- Use a rug large enough to fit front legs of seating pieces.
- Set the dining table simply with 2–4 place settings and a single centerpiece.
Bedrooms
- Use appropriately sized beds. Queen often fits better than king in prewar rooms.
- Limit to two nightstands with matching lamps.
- Stage closets to show hanging space and clear floor area.
Kitchen
- Clear counters except for 3–4 attractive essentials.
- Add under‑cabinet lighting if dark. Keep bulbs consistent with the rest of the home.
- Install new hardware if needed and polish appliances.
Bath
- Regrout, recaulk, and clean glass. White towels and a neutral shower curtain photograph well.
- Keep only daily essentials on the vanity; hide extras.
Throughout
- Remove personal photos and large collections.
- Keep decor cohesive across rooms with 2–3 accent colors.
- Confirm building approvals when in doubt, and coordinate elevator scheduling for stager deliveries.
Next steps
Declutter and deep clean. Edit by half, then edit again. Store excess off‑site if needed.
Confirm rules. Review your proprietary lease, house rules, and any alteration guidelines. If your building is landmarked, understand what the LPC regulates. If a change involves plumbing, gas, or electrical, consult a licensed contractor about DOB requirements.
Implement reversible upgrades. Paint in a neutral palette, unify lighting, right‑size furniture, and highlight architectural details.
Hire an experienced NYC photographer. Schedule photos when the apartment receives the best natural light and coordinate access with building management.
Prepare for showings. Set lamps on timers, open sheers, and keep surfaces and floors clear.
Ready to list with confidence?
If you want a tailored plan for your specific co‑op, a quick walkthrough can identify the few changes that will make the biggest impact on photos and buyer perception. My team brings a concierge approach to prep and presentation, from vendor coordination to elevated marketing that showcases your apartment’s story to the right buyers. Let’s connect for a private consultation with Unknown Company.
FAQs
Do I need board approval to paint my UWS co‑op?
- Interior cosmetic painting typically does not require board approval, but you should confirm with your proprietary lease and house rules before starting.
Will the Landmarks Preservation Commission stop me from changing windows?
- If your building is in a landmark district and windows are visible from the street, LPC approval may be required; check your building’s status and consult management before planning window work.
What staging changes give the best ROI in a prewar co‑op?
- Lighting, decluttering, a neutral repaint, and correct furniture scale usually provide the biggest visual lift for the least cost and time.
Can I use virtual staging in my listing?
- Yes, virtual staging is common, but images must be clearly labeled as virtually staged according to platform and brokerage rules.
What photography approach works for small prewar layouts?
- Use medium‑wide shots with balanced exposure, highlight architectural details, keep verticals straight, and include an accurate floor plan to help buyers visualize the space.